 Save
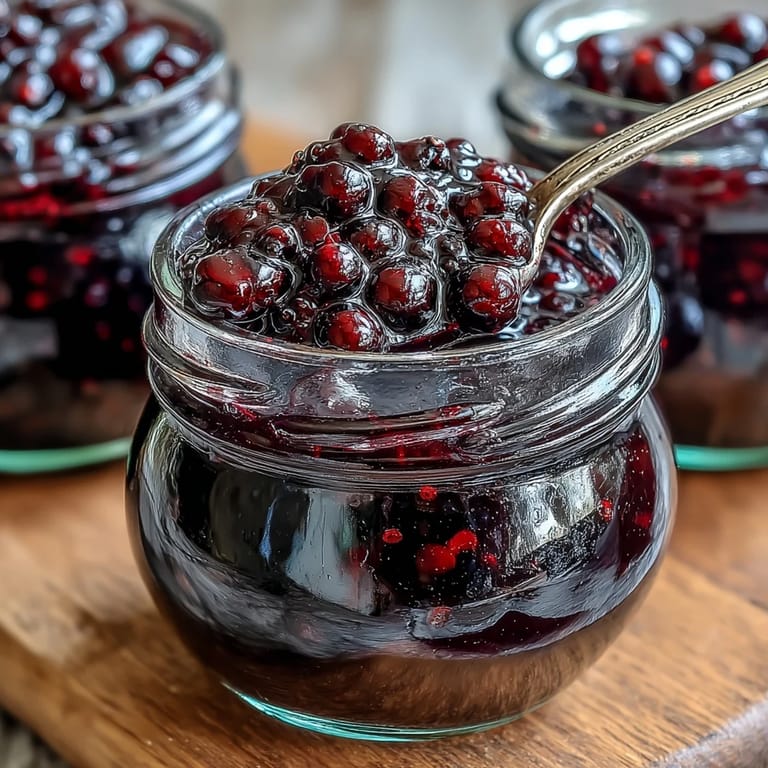
Save My neighbor brought over a punnet of blackcurrants one summer morning, fresh from her garden, and I remember standing in my kitchen staring at them wondering what on earth to do with such tart little berries. That afternoon I made my first batch of jam, and the smell alone—this deep, almost floral tartness mixed with caramelizing sugar—convinced me I'd stumbled onto something special. Now it's become one of those recipes I make without thinking, my hands knowing exactly when to reach for the potato masher and my nose telling me when the kitchen has reached that perfect sweet-and-tangy moment.
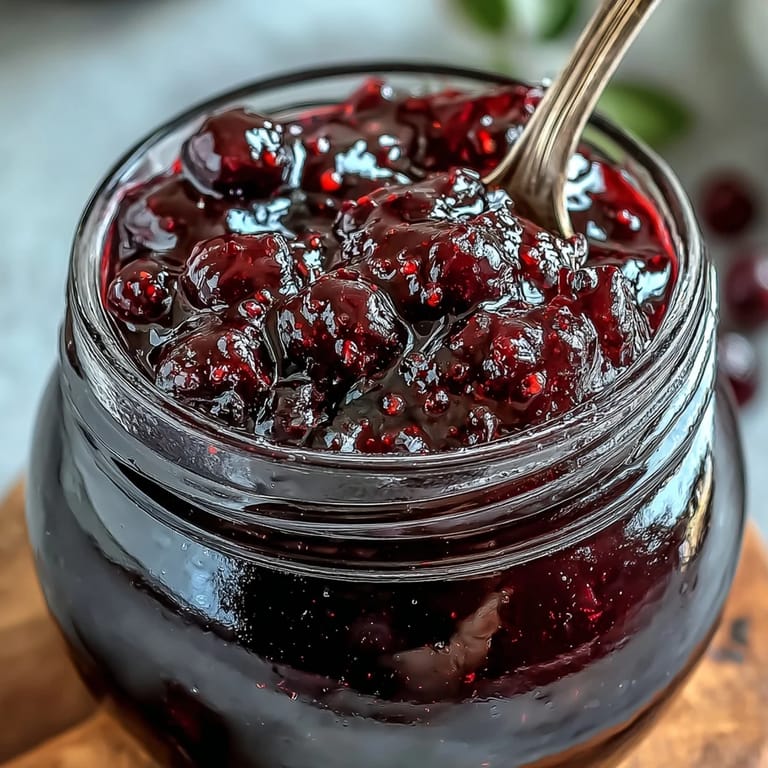
There's a photo on my phone from last June—a jar of this jam sitting on my friend's kitchen counter next to fresh croissants, and the way the morning light came through the window made it glow like dark ruby glass. She'd asked if I could bring something for breakfast, and I'll never forget her face when she tasted it on warm bread with a little butter. That single jar became the reason she started asking me for recipes, and now we swap jams like we're in some kind of gentle food competition.
Ingredients
- Fresh blackcurrants (1 kg): These little dark berries are the whole show—they're naturally high in pectin, which means your jam will set beautifully without any fussing around with commercial setting agents. Pick them fresh if you can, and don't stress if some are slightly softer than others; they all break down into that gorgeous preserve.
- Granulated sugar (900 g): The ratio here is important because it's not just about sweetness but about helping the jam reach its setting point. I've found that white granulated sugar works best, as it dissolves cleanly and lets the berry flavor shine through without any competing notes.
- Fresh lemon juice (2 tbsp): This is the secret weapon that stops the jam from being cloying and brings out all those hidden blackcurrant flavors you didn't know existed. The acidity also helps with setting, so don't skip it or substitute it with bottled lemon juice if you can help it.
Tired of Takeout? 🥡
Get 10 meals you can make faster than delivery arrives. Seriously.
One email. No spam. Unsubscribe anytime.
Instructions
- Chill your test plate:
- Pop a small ceramic plate into the freezer right at the start—you'll need this later to check when your jam has reached setting point. It's a small step that saves you from ending up with either runny jam or an overcooked, rubbery batch.
- Combine berries and lemon juice:
- Tip your blackcurrants into a large, heavy-bottomed saucepan and add the lemon juice, then gently crush about half the berries with a potato masher, working in a circular motion until some release their deep purple juice but others stay mostly whole. You want a mix of crushed and whole berries because that's what gives you lovely texture later on.
- Let the sugar do its work:
- Add the sugar and stir everything together until combined, then set a timer for 10 minutes and just leave it alone—this is when the sugar draws out even more juice from the berries, creating a syrup before you even turn on the heat. When you come back, you'll be surprised how much liquid has pooled at the bottom of the pan.
- Dissolve and heat:
- Turn the heat to medium and stir constantly with a wooden spoon until every grain of sugar has dissolved and you can't hear or feel grittiness anymore. Once it's completely smooth, increase the heat to high and bring the whole thing to a rolling boil—you want it bubbling enthusiastically, almost angry, because that's when the magic happens.
- Boil and skim:
- Let it boil hard for 10 to 15 minutes, stirring frequently so nothing sticks to the bottom and burns, and you'll notice a pale foam starting to rise to the surface—skim this off with a spoon because it's impurities and it can make your finished jam cloudy. The berries will gradually soften and the mixture will darken from a bright red-purple to a deep, almost black-burgundy color.
- Test for setting point:
- Pull that frozen plate out of the freezer and drop a small spoonful of jam onto it, then wait exactly one minute and push the surface gently with your fingertip—if it wrinkles and feels set, you're done, but if it's still runny, give it another minute or two of boiling and test again. This simple test is honestly more reliable than any fancy thermometer because you're actually feeling when the jam has reached the right consistency.
- Rest and jar:
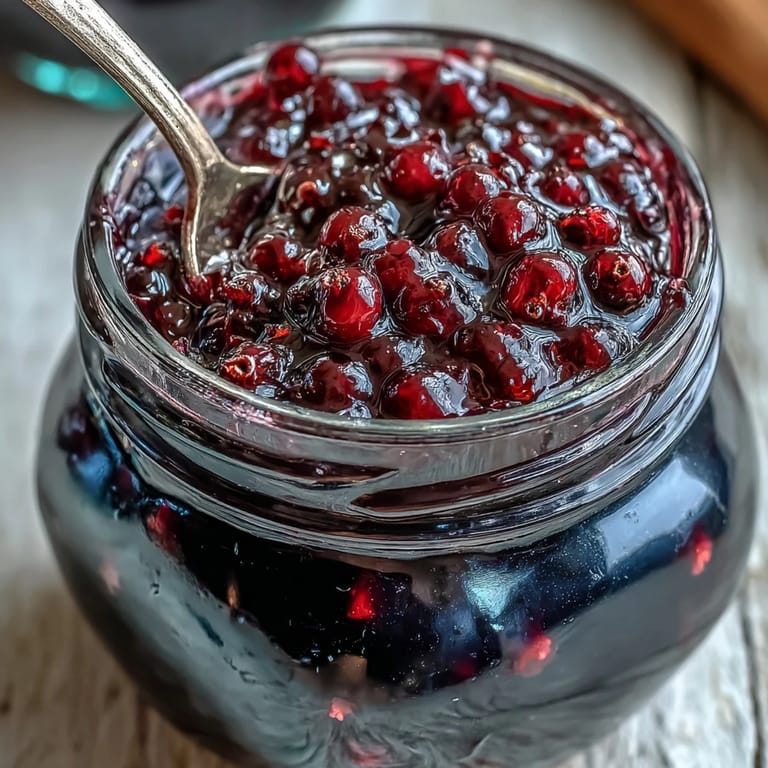
- Turn off the heat and let the pan sit undisturbed for 5 minutes while you stir occasionally—this settling time helps distribute the fruit evenly throughout the jam so you don't end up with all the berries sinking to the bottom of the jar. Using a ladle, carefully pour the hot jam into sterilized jars, leaving about half a centimeter of headspace at the top, then seal immediately while everything is still hot.
- Cool and store:
- Leave the jars at room temperature to cool completely—you'll hear that satisfying pop as each lid seals itself—then label them with the date and store in a cool, dark cupboard where they'll keep for at least a year, though they never last that long in my house.
 Save
Save My daughter once helped me make a batch when she was about seven, and she became obsessed with the wrinkle test—she wanted to be in charge of checking whether the jam was ready, and I can still see her concentrating so hard as she poked that tiny bit of jam on the cold plate. Now whenever she visits, we make jam together, and it's become this really lovely ritual between us, like a secret language we speak in the kitchen that the rest of the world doesn't quite understand.
Why Blackcurrants Are Worth Seeking Out
Blackcurrants are honestly underrated in most home kitchens, maybe because they're not as readily available as strawberries or raspberries, but they have this sophisticated, almost wine-like depth that makes them perfect for jam. The flavor is tart without being sharp, floral without being perfumy, and when you cook them down with sugar and lemon, they transform into something that tastes far more luxurious than the humble ingredients suggest. If you can't find fresh blackcurrants at your local market, look for them at farmers' markets in summer, or check specialty shops that stock frozen berries—frozen blackcurrants work beautifully for jam because they're picked at peak ripeness and the freezing actually helps break down the cell walls.
The Science of Jam Setting That Actually Matters
There's this mystique around jam making that makes people think it's complicated, but honestly it comes down to three simple things: fruit, sugar, and heat creating the right ratio of solids to liquid. Blackcurrants are naturally high in pectin, which is basically nature's gelatin, so when you cook them with sugar to a high enough temperature, that pectin turns into a gel and your jam sets. I used to worry about whether I was doing it right, but once I understood that I was just concentrating the fruit and activating the pectin, it stopped being scary and started being fun.
Flavor Variations That Work Beautifully
Once you've made the basic version a few times and you're confident with the process, there's so much room to play around and make it your own. A split vanilla pod steeped in the jam while it cooks adds this subtle warmth that makes people ask what's in your secret ingredient, and a splash of cassis liqueur stirred in just before jarring adds an almost champagne-like sophistication. I once added a few fresh mint leaves during the cooking process, thinking it would be lovely, and it was—herbaceous and unexpected in the best way—and another time a friend suggested a tiny pinch of cardamom, which sounds odd but somehow made the tartness even more interesting.
- Try a split vanilla pod for a sophisticated sweetness that doesn't overpower the fruit.
- A few fresh mint leaves or a tiny pinch of cardamom add unexpected depth if you're feeling adventurous.
- Always add any liqueur or extra flavoring just before jarring, when the heat is off, so the flavor stays bright and fresh.
 Save
Save This jam has become one of those recipes I make without needing to look at the instructions anymore, and there's something deeply satisfying about that—about taking a simple bunch of berries and transforming them into something that tastes like the whole season captured in a jar. If you make it once, you'll understand why it's worth the small effort.
Recipe FAQs
- → How do I know when the jam has reached setting point?
Place a small plate in the freezer before starting. After boiling for 10–15 minutes, drop a small amount onto the chilled plate and wait one minute. Push gently with your finger—if the surface wrinkles, the preserve has reached setting point and is ready to jar.
- → Can I use frozen blackcurrants instead of fresh?
Yes, frozen berries work perfectly. Thaw them completely before starting and drain any excess liquid. You may need to cook for an additional 2–3 minutes to account for the extra moisture content.
- → How long will this preserve keep?
Properly sealed and stored in a cool, dark place, unopened jars will keep for up to 12 months. Once opened, refrigerate and consume within four weeks for best quality and flavor.
- → Why is lemon juice added to the mixture?
Fresh lemon juice serves two purposes: it balances the natural sweetness with bright acidity and provides natural pectin that helps the preserve achieve the proper consistency. The acid also acts as a natural preservative.
- → Can I reduce the amount of sugar?
Sugar is crucial for both preservation and achieving the proper set. Reducing sugar significantly may prevent the preserve from setting correctly and shorten shelf life. For lower-sugar options, consider using specialized pectin designed for reduced-sugar preserving.
- → What causes foam to form during boiling?
Foam is naturally occurring impurities rising to the surface. Skimming it off with a spoon during boiling results in a clearer, more attractive finished product and prevents any bitter flavors from developing.