 Save
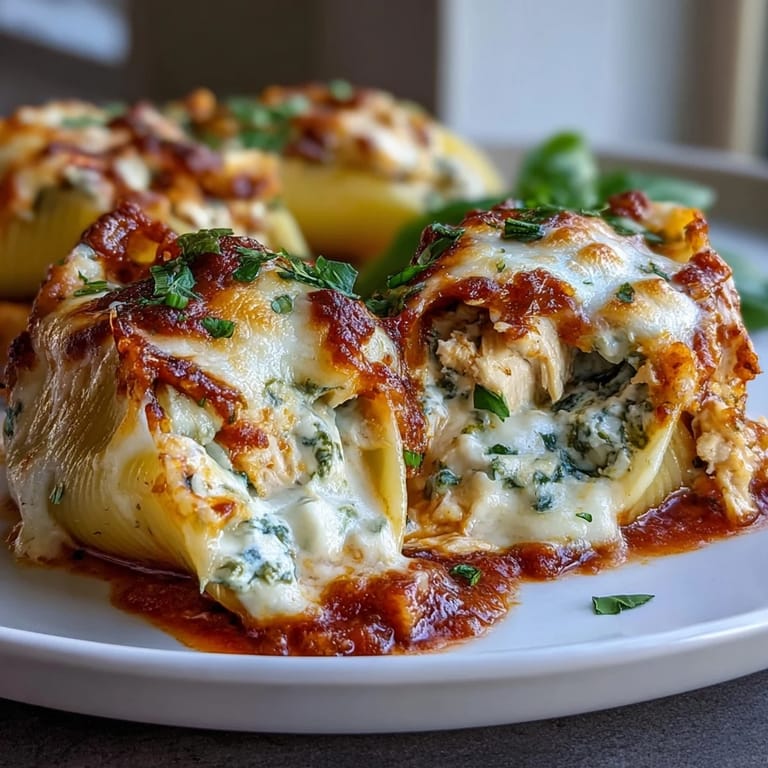
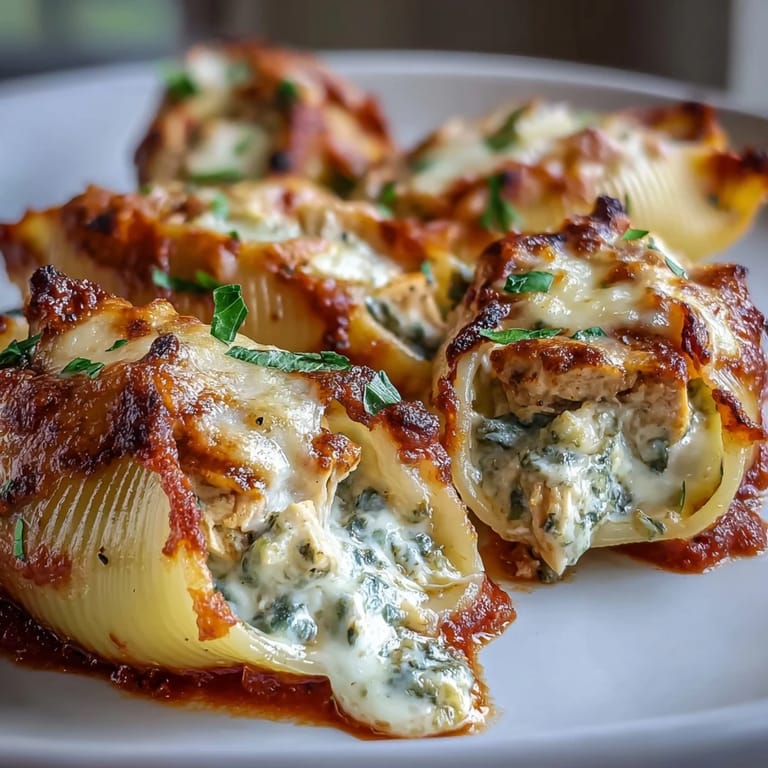
Save My sister called me in a panic one Tuesday evening, asking if I could bring dinner to her place because she had back-to-back meetings and two hungry kids. I found myself standing in her kitchen with half a rotisserie chicken, some ricotta, and a jar of pesto, and somehow those simple ingredients turned into these gorgeous stuffed shells that made everyone forget about the chaos of the day. That's when I realized this dish isn't just comforting food—it's a lifesaver that actually tastes like you spent hours in the kitchen.
I made this for a small dinner party once and watched my friend who's usually skeptical about pasta dishes take a second helping before anyone else had finished their first. The way the pesto cuts through the richness of the cheese and the tenderness of the chicken in each bite—it just clicks, you know? That meal turned into one of those evenings where people stayed talking for hours after eating.
Ingredients
- 20 jumbo pasta shells: These are the star—they need to be big enough to hold a generous spoonful of filling without tearing, so don't reach for regular shells by mistake.
- 1 1/2 cups cooked shredded chicken: Use rotisserie chicken if you're short on time; it adds flavor and moisture that plain poached chicken sometimes lacks.
- 1 cup ricotta cheese: The base that makes everything creamy and luxurious—full-fat ricotta tastes noticeably better than the low-fat versions.
- 1/2 cup grated Parmesan cheese: This brings a sharp, salty note that balances the sweetness of the marinara and brightness of the pesto.
- 1 cup shredded mozzarella cheese, divided: Part goes in the filling for creaminess and part on top for that golden, bubbly finish we're after.
- 1/3 cup basil pesto: This is where quality matters—a vibrant pesto with real basil and good olive oil transforms the entire dish compared to a dull grocery store version.
- 1 large egg: Acts as a binder to hold the filling together so it doesn't fall apart during baking.
- 1/2 teaspoon salt and 1/4 teaspoon black pepper: Season generously here since the filling is the star and needs to taste like itself.
- 2 cups marinara sauce: The cushion everything sits in—taste it before using and adjust seasoning if needed.
- Fresh basil leaves for garnish: A final handful of green that catches the light and reminds everyone this is made with care.
Tired of Takeout? 🥡
Get 10 meals you can make faster than delivery arrives. Seriously.
One email. No spam. Unsubscribe anytime.
Instructions
- Get your oven and dish ready:
- Preheat your oven to 375°F and lightly grease a 9x13-inch baking dish so nothing sticks when you're pulling it out later. Having everything prepared before you start cooking makes the next steps feel smooth and organized.
- Cook the shells until they're just tender:
- Boil a large pot of salted water and cook the jumbo pasta shells until al dente—they should bend gently without snapping but still have a slight firmness. Drain them and let them cool on a clean kitchen towel so they're easy to handle when you fill them.
- Mix the filling with care:
- In a large bowl, combine the shredded chicken, ricotta, 1/2 cup Parmesan, 1/2 cup mozzarella, pesto, egg, salt, and pepper, stirring until everything is evenly mixed. The filling should be thick enough that it holds its shape when you spoon it, but still creamy and cohesive.
- Layer the sauce:
- Spread 1 cup of marinara sauce across the bottom of your prepared baking dish in an even layer. This creates a protective base that prevents sticking and ensures every shell touches something delicious.
- Stuff and arrange the shells:
- Hold each cooled shell in one hand and spoon the filling generously into the opening, filling it completely but not overstuffing. Place each filled shell open-side up in the baking dish, nestling them snugly together so they support each other while baking.
- Add the remaining sauce and cheese:
- Spoon the remaining marinara sauce over the stuffed shells, making sure some gets between them and over the top. Sprinkle the remaining 1/2 cup mozzarella and 2 tablespoons Parmesan evenly across the entire surface.
- Bake covered, then finish uncovered:
- Cover the dish with foil and bake for 25 minutes so the shells warm through and the filling cooks gently. Remove the foil and bake for another 10 minutes until the top is bubbling at the edges and golden brown.
- Garnish and serve:
- Let the dish rest for a minute or two when it comes out of the oven, then scatter fresh basil leaves across the top if you have them. This final touch adds a fresh herbal note that makes everyone's eyes light up when they see it coming to the table.
 Save
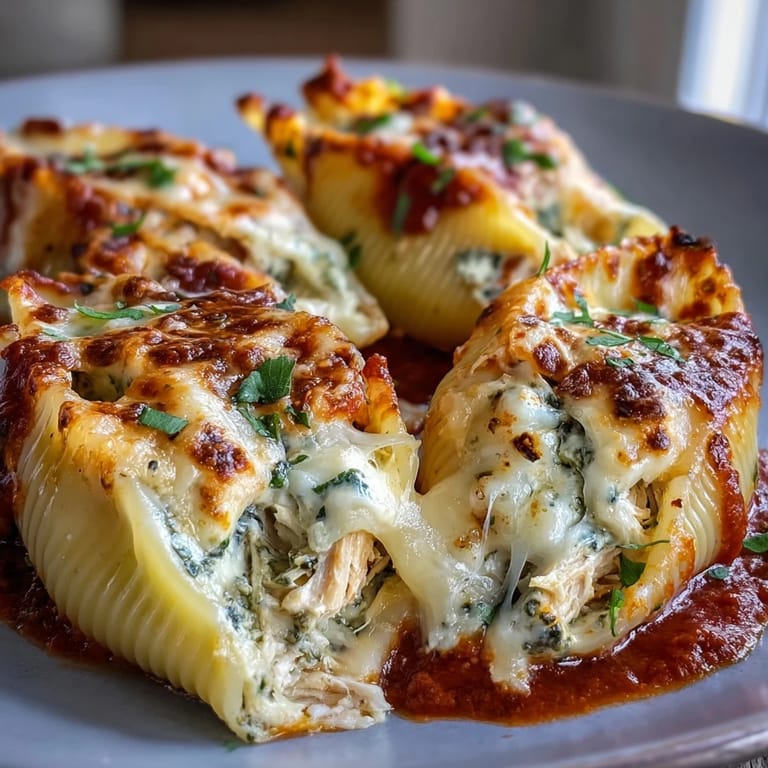
Save There's something deeply satisfying about pulling a bubbling dish of these shells out of the oven and knowing you made something that tastes restaurant-quality but happened at home in your own kitchen. The aroma alone—basil and tomato and melted cheese all mingling together—is enough to make anyone hungry.
Customizing Your Shells
This recipe is wonderfully flexible once you understand the basic structure. I've made it vegetarian by swapping the chicken for an extra cup of ricotta and adding a handful of sautéed spinach, which adds earthiness and color. You can also experiment with different cheeses—goat cheese works beautifully if you want something tangier, or try mixing in a bit of fontina for smokiness. The pesto is your most important variable though, so choose one that tastes vibrant and alive to you.
Pairing and Serving Suggestions
Serve this alongside a crisp green salad dressed simply with lemon and olive oil to cut through the richness of the cheese and sauce. A chilled glass of Pinot Grigio or a light white wine pairs beautifully, but honestly, a cold drink of any kind helps balance the warmth and creaminess. I've also found that crusty bread on the side is essential because people will want to soak up every bit of sauce that pools on their plates.
Storage and Make-Ahead Magic
You can assemble this entire dish several hours ahead and keep it in the refrigerator—just add 10 extra minutes to the covered baking time if it goes straight from cold to hot. Leftovers reheat beautifully covered with foil at 350°F, and the flavors actually deepen the next day as everything has time to meld together. This is the kind of dish that's almost better as a leftover.
- To freeze, assemble completely but don't bake, then wrap tightly and freeze for up to two months.
- Thaw in the refrigerator overnight before baking, adding 5 minutes to the cooking time if needed.
- Individual shells can be portioned into small containers if you want grab-and-reheat options for busy weeks.
 Save
Save This dish has become my answer to the question of what to make when someone needs feeding but you don't want to resort to takeout. It's the kind of meal that feels like a hug on a plate.
Recipe FAQs
- → Can I make these stuffed shells ahead of time?
Yes, you can assemble the dish up to 24 hours in advance and refrigerate. When ready to bake, you may need to add 5-10 minutes to the cooking time if baking from cold.
- → How do I prevent the shells from tearing when filling them?
Cook the shells just until al dente and handle them gently while warm. Using a piping bag or spoon to fill from the inside out helps prevent tearing. Letting them cool slightly also makes them easier to handle.
- → Can I freeze these stuffed shells?
Assembled unbaked shells freeze well for up to 3 months. Thaw overnight in the refrigerator before baking, or bake from frozen adding 15-20 minutes to the covered baking time.
- → What can I use instead of chicken?
For a vegetarian version, increase the ricotta to 1 3/4 cups, or substitute cooked spinach, sausage, or ground beef. The filling works well with various proteins or as a meatless option.
- → How do I know when the shells are done baking?
The dish is ready when the sauce is bubbling around the edges and the cheese on top is melted and lightly golden. This typically takes 35 minutes total with the foil cover removed for the last 10 minutes.
- → Can I use jarred pesto or should it be homemade?
Both work perfectly. High-quality store-bought pesto is convenient and flavorful. Homemade allows you to adjust the garlic, cheese, and nut proportions to your taste.