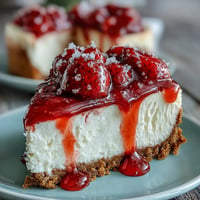
 Save
Save My cousin texted me a photo of her daughter in a white dress, asking if I could bake something special for the First Communion party. I hadn't made a celebration cake in years, but something about that request made me want to create something elegant yet approachable—a cake that wouldn't intimidate me with temperamental layers or fussy techniques. This sheet cake became my answer: generous, forgiving, and beautiful enough to make the moment feel sacred without requiring a pastry degree.
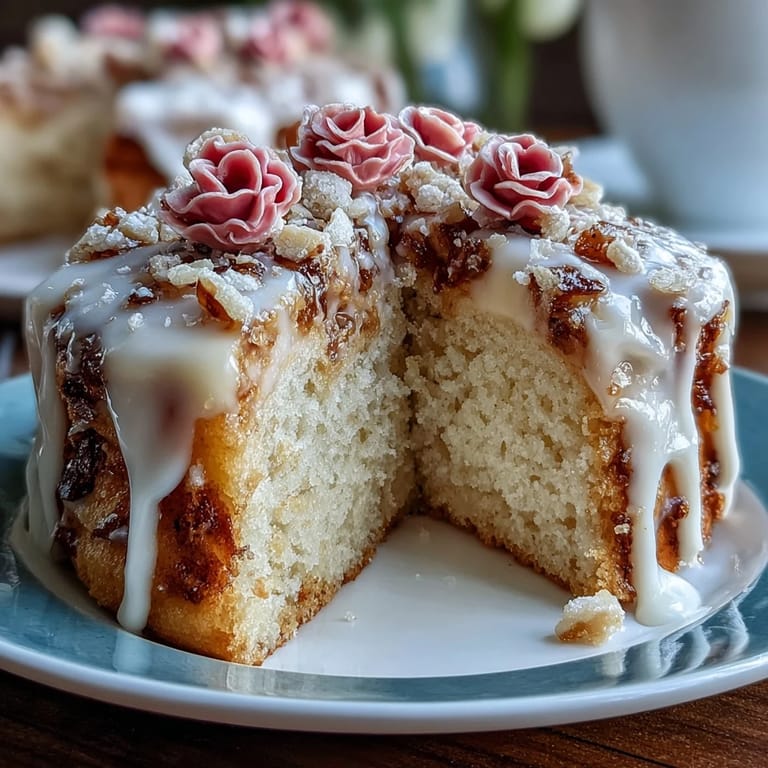
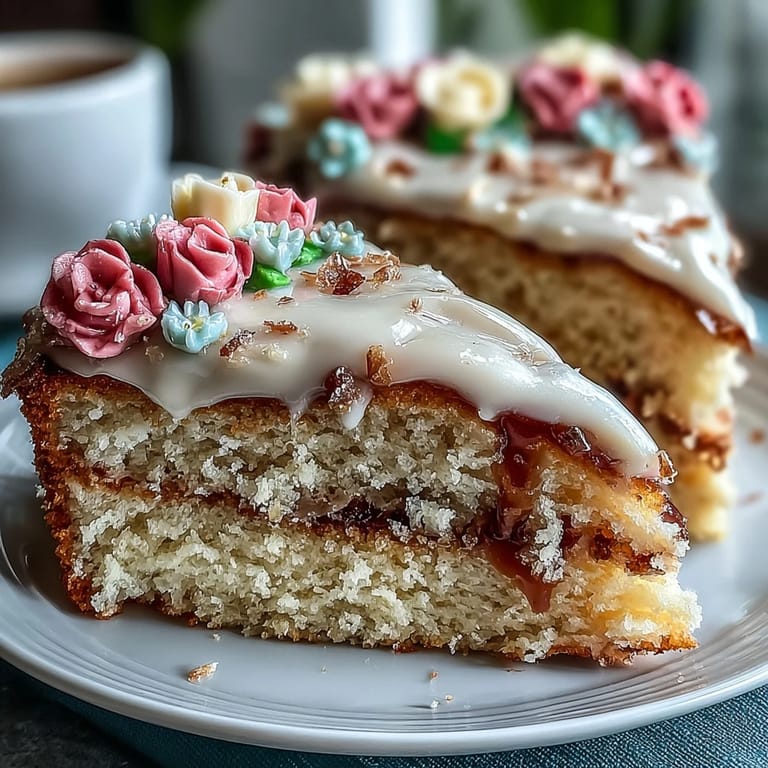
Standing in my kitchen at 6 a.m. on the day of the party, piping those first pink flowers felt like I was doing something important. My hands were a little shaky—not from nerves about baking, but from the weight of creating something meant to be remembered. By the time I finished the last leaf, the whole cake glowed like a garden, and I realized this simple sheet cake had become exactly what a celebration should taste like.
Ingredients
- All-purpose flour (2 ½ cups): The foundation that keeps this cake tender rather than dense, and measuring by weight ensures you won't accidentally add too much.
- Baking powder (2 ½ tsp): This is what gives the cake its gentle rise and light crumb, so don't skip it or halve it.
- Salt (½ tsp): A pinch that makes the vanilla sing and balances the sweetness so the cake doesn't taste cloying.
- Unsalted butter (1 cup for cake, 1 ½ cups for frosting): Room temperature butter creams into the sugar smoothly, creating that signature fluffy texture that makes people ask for your recipe.
- Granulated sugar (2 cups): It aerates the butter as you beat them together, which is the secret to a tender crumb.
- Eggs (4 large, room temperature): Cold eggs won't incorporate smoothly, so pull them out an hour before baking—this small step makes a real difference.
- Pure vanilla extract (1 tbsp for cake, 2 tsp for frosting): Real vanilla matters here because it's the only flavor competing with the sweetness, and imitation extract tastes thin by comparison.
- Whole milk (1 cup for cake, ¼ cup for frosting): Room temperature milk helps everything blend into a cohesive batter without overworking the flour.
- Powdered sugar (6 cups, sifted): Sifting prevents lumps that would make your buttercream grainy, and it's worth the five minutes it takes.
- Food coloring (gel preferred): Gel coloring won't thin your buttercream the way liquid coloring does, and you'll get those jewel-toned flowers without a runny base.
Tired of Takeout? 🥡
Get 10 meals you can make faster than delivery arrives. Seriously.
One email. No spam. Unsubscribe anytime.
Instructions
- Prep and preheat:
- Set your oven to 350°F and while it heats, grease that 9x13-inch pan generously—I use butter and a paper towel, which sounds old-fashioned but works better than cooking spray. Lining the bottom with parchment gives you a safety net; even if the cake sticks slightly, you can always patch it with frosting.
- Mix the dry ingredients:
- Whisk flour, baking powder, and salt in a medium bowl until they're evenly distributed. This step matters more than people realize because it distributes the leavening so your cake rises evenly rather than having a domed center that needs trimming.
- Cream the butter and sugar:
- Beat softened butter and sugar for about three minutes until the mixture looks pale and fluffy, like thick frosting. You're not just mixing—you're incorporating air, which makes the finished cake tender and light rather than dense.
- Add the eggs one at a time:
- Drop each egg in individually, waiting until the previous one is fully incorporated before adding the next. This takes an extra two minutes, but it ensures the emulsion stays stable and your batter doesn't look curdled or separated.
- Add vanilla and alternate flour with milk:
- Pour in vanilla, then add the flour mixture in three parts, alternating with milk and always starting and ending with flour. This technique prevents overmixing, which would develop gluten and make the cake tough—stop mixing the moment you don't see streaks of flour anymore.
- Bake the cake:
- Pour batter into your prepared pan and smooth the top with a spatula so it bakes evenly. Bake for 28–32 minutes, checking at 28 with a toothpick; when it comes out clean or with just a few moist crumbs, you're done.
- Cool and handle carefully:
- Let the cake rest in the pan for ten minutes while the structure sets, then turn it out onto a wire rack and let it cool completely. Frosting a warm cake will make the buttercream melt, so if you're in a hurry, pop the cooled cake in the refrigerator for twenty minutes before frosting.
- Make the buttercream:
- Beat softened butter until it's creamy and pale, then gradually add sifted powdered sugar while alternating with milk. The gradual approach prevents lumps and keeps the frosting from becoming gritty; when it looks smooth and fluffy, add vanilla and you're ready to color.
- Divide and tint:
- Split the frosting into small bowls and add a few drops of gel coloring to each, stirring gently until the color is even. Don't overmix or the frosting will warm up and become softer.
- Spread the base layer:
- Dollop a generous amount of plain buttercream onto the cooled cake and spread it in an even layer about ¼-inch thick. This base layer seals in the cake and gives you a smooth surface for piping flowers.
- Pipe the flowers:
- Fill piping bags with colored buttercream and attach flower and leaf tips, then practice a couple of flowers on the edge of your counter before you commit to the cake. Pipe flowers in clusters, focusing on corners and edges, then add leaves between them for a garden effect.
- Final touches:
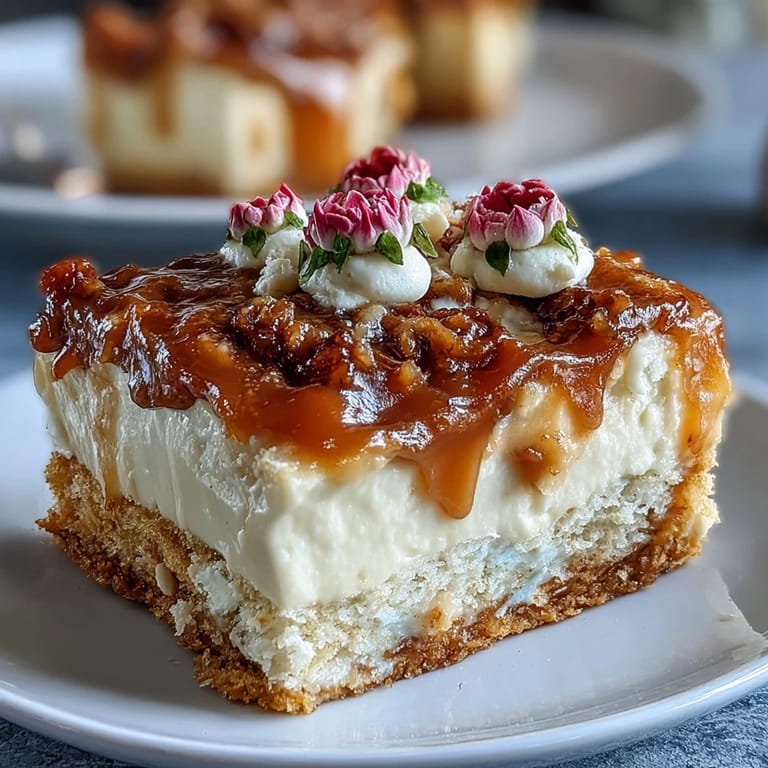
- If you want to add text like a date or a small cross, use a round piping tip and plain white buttercream, piping gently and slowly so the letters stay legible.
 Save
Save At the party, I watched a little girl in her white dress take the first piece, and her eyes got wide when she tasted how moist and tender the cake was. Someone's grandmother asked me quietly if I'd used a box mix—not as an insult, but as genuine surprise that something homemade could be so perfectly simple. That's when I understood the real magic of this cake: it proves you don't need complicated techniques to make something people actually remember.
Make-Ahead Magic
The beauty of this cake is its flexibility around your schedule. Bake it a full day ahead and store it covered at room temperature in a cool kitchen, where it will actually taste more moist and settled than it does the same day. Then all you have to do on celebration morning is whip up the buttercream and pipe your flowers in whatever quiet moment you can find, without feeling rushed or stressed about baking while wearing your nice clothes.
Flavor Variations That Work
I've experimented with this cake formula more than once, and it's forgiving enough to accept small changes without falling apart. Adding a half-teaspoon of almond extract to the batter creates an almost mysterious sweetness that guests can't quite identify, while keeping the vanilla as the main flavor. Lemon zest stirred into the buttercream instead of vanilla gives you a completely different cake that's equally elegant and perfect for spring celebrations.
Decorating with Confidence
The most important thing I've learned about piping flowers is that they don't have to be perfect—they have to be present and intentional. If you've never piped before, watch a thirty-second video, get comfortable holding the piping bag at a 45-degree angle, and just start. Your first flowers might be a little wonky, but by the fifth one, your hand will find its rhythm, and by the tenth, you'll have muscle memory that makes the rest feel almost automatic.
- Practice on a piece of parchment paper or even a plate before you commit to the cake—it costs nothing and builds your confidence.
- If a flower doesn't look right, smooth it out with a warm offset spatula and pipe over it again, because nobody's inspecting your cake through a magnifying glass.
- Step back every few flowers and look at the overall composition so you're not piling all your blooms in one corner.
 Save
Save This cake has become my quiet way of saying yes to celebrations, even when life is busy and I'm not sure I have time. There's something deeply satisfying about placing a cake on a table and watching people's faces light up, knowing you made that moment with your own hands.
Recipe FAQs
- → What is the best way to keep the cake moist?
Ensure not to overbake and cool the cake completely before frosting to retain moisture.
- → How do you achieve smooth buttercream frosting?
Beat softened butter until creamy, then gradually incorporate powdered sugar and milk for a fluffy, smooth texture.
- → Can the buttercream be tinted with natural colors?
Yes, food coloring can be used to create vibrant floral decorations, adding visual interest.
- → What tools are essential for decorating the buttercream flowers?
Piping bags fitted with flower, leaf, and round tips are recommended for detailed floral designs.
- → Is it possible to prepare this cake ahead of time?
The cake can be baked a day before and stored covered at room temperature to maintain freshness.